

08 Jun The Lion, the Monkey, and the Airplane – All in a Locket for Mom
 In my work, three things (at least) bring me joy.
Narrative.
Mechanisms.
Smiling faces.
Lockets include all three, and more.
The very essence of a locket is narrative. The piece captures a story for the client not only with the images included but also in the design both structurally and aesthetically.
The challenge of planning a mechanism with multiple moving parts is one I welcome. And then when it comes time to assemble those parts and they actually work, that’s even better.
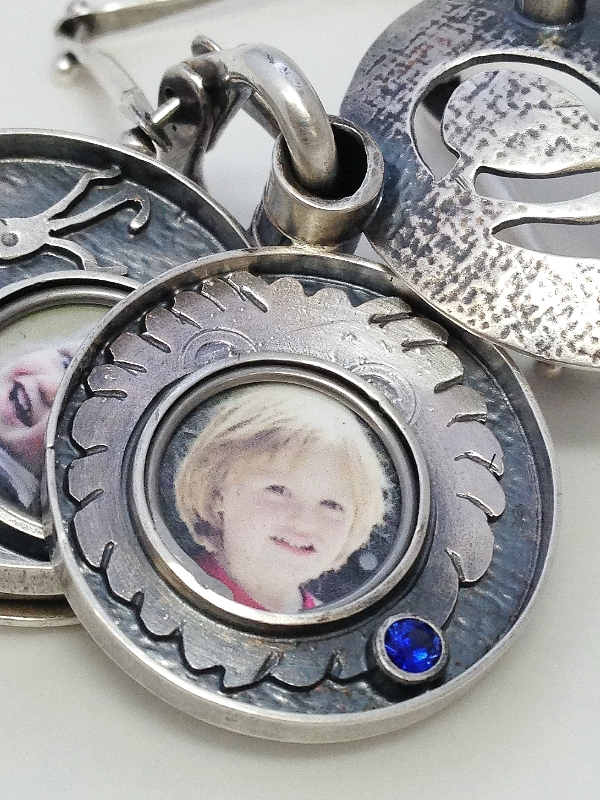
 But nothing beats the final moments of locket making when I have the honor of installing those images of those sweet cherished faces. That’s the best part! And smiles on the faces of my client and the recipient of the piece are always a thrill!
Lockets are jewelry like no other. It is the ultimate in narrative jewelry.
Much jewelry is narrative. Wedding jewelry is a great example – because of the ceremony that accompanies the giving of the rings. But other pieces as well – whether given as gifts upon life milestones or acquired during a trip or pilgrimage of some kind – jewelry is a fantastic remembrance for a personal narrative.
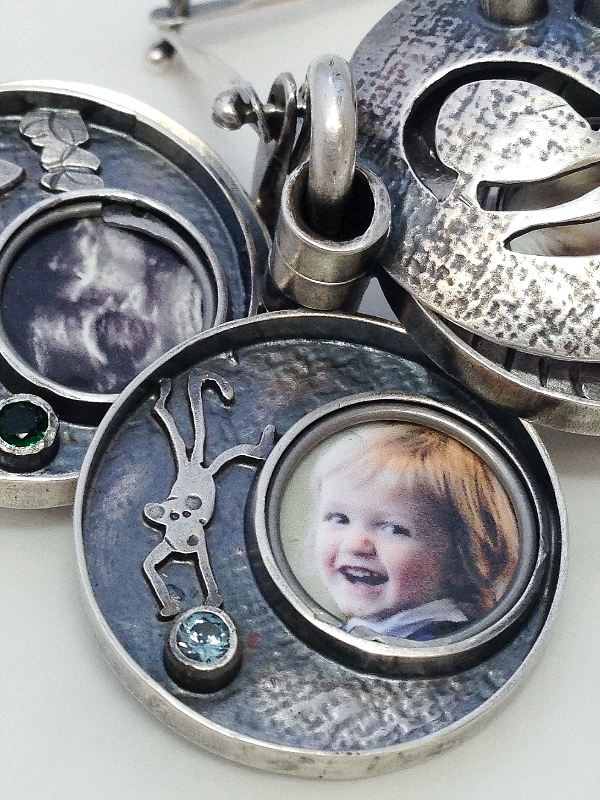
In the case of a locket, the narrative is paired with imagery. In this particular locket, images of the children themselves were combined with characters or themes from their early childhood. The birthstones are markers for the birthdates of the children and their parents, the inscriptions provide the stats of each son as well as a literary reference as a message from the parents to their children.
“You have brains in your head.
You have feet in your shoes.
You can steer yourself any direction you choose.
You’re on your own.
And you know what you know.
And YOU are the one who’ll decide where to go…”
~Dr. Suess
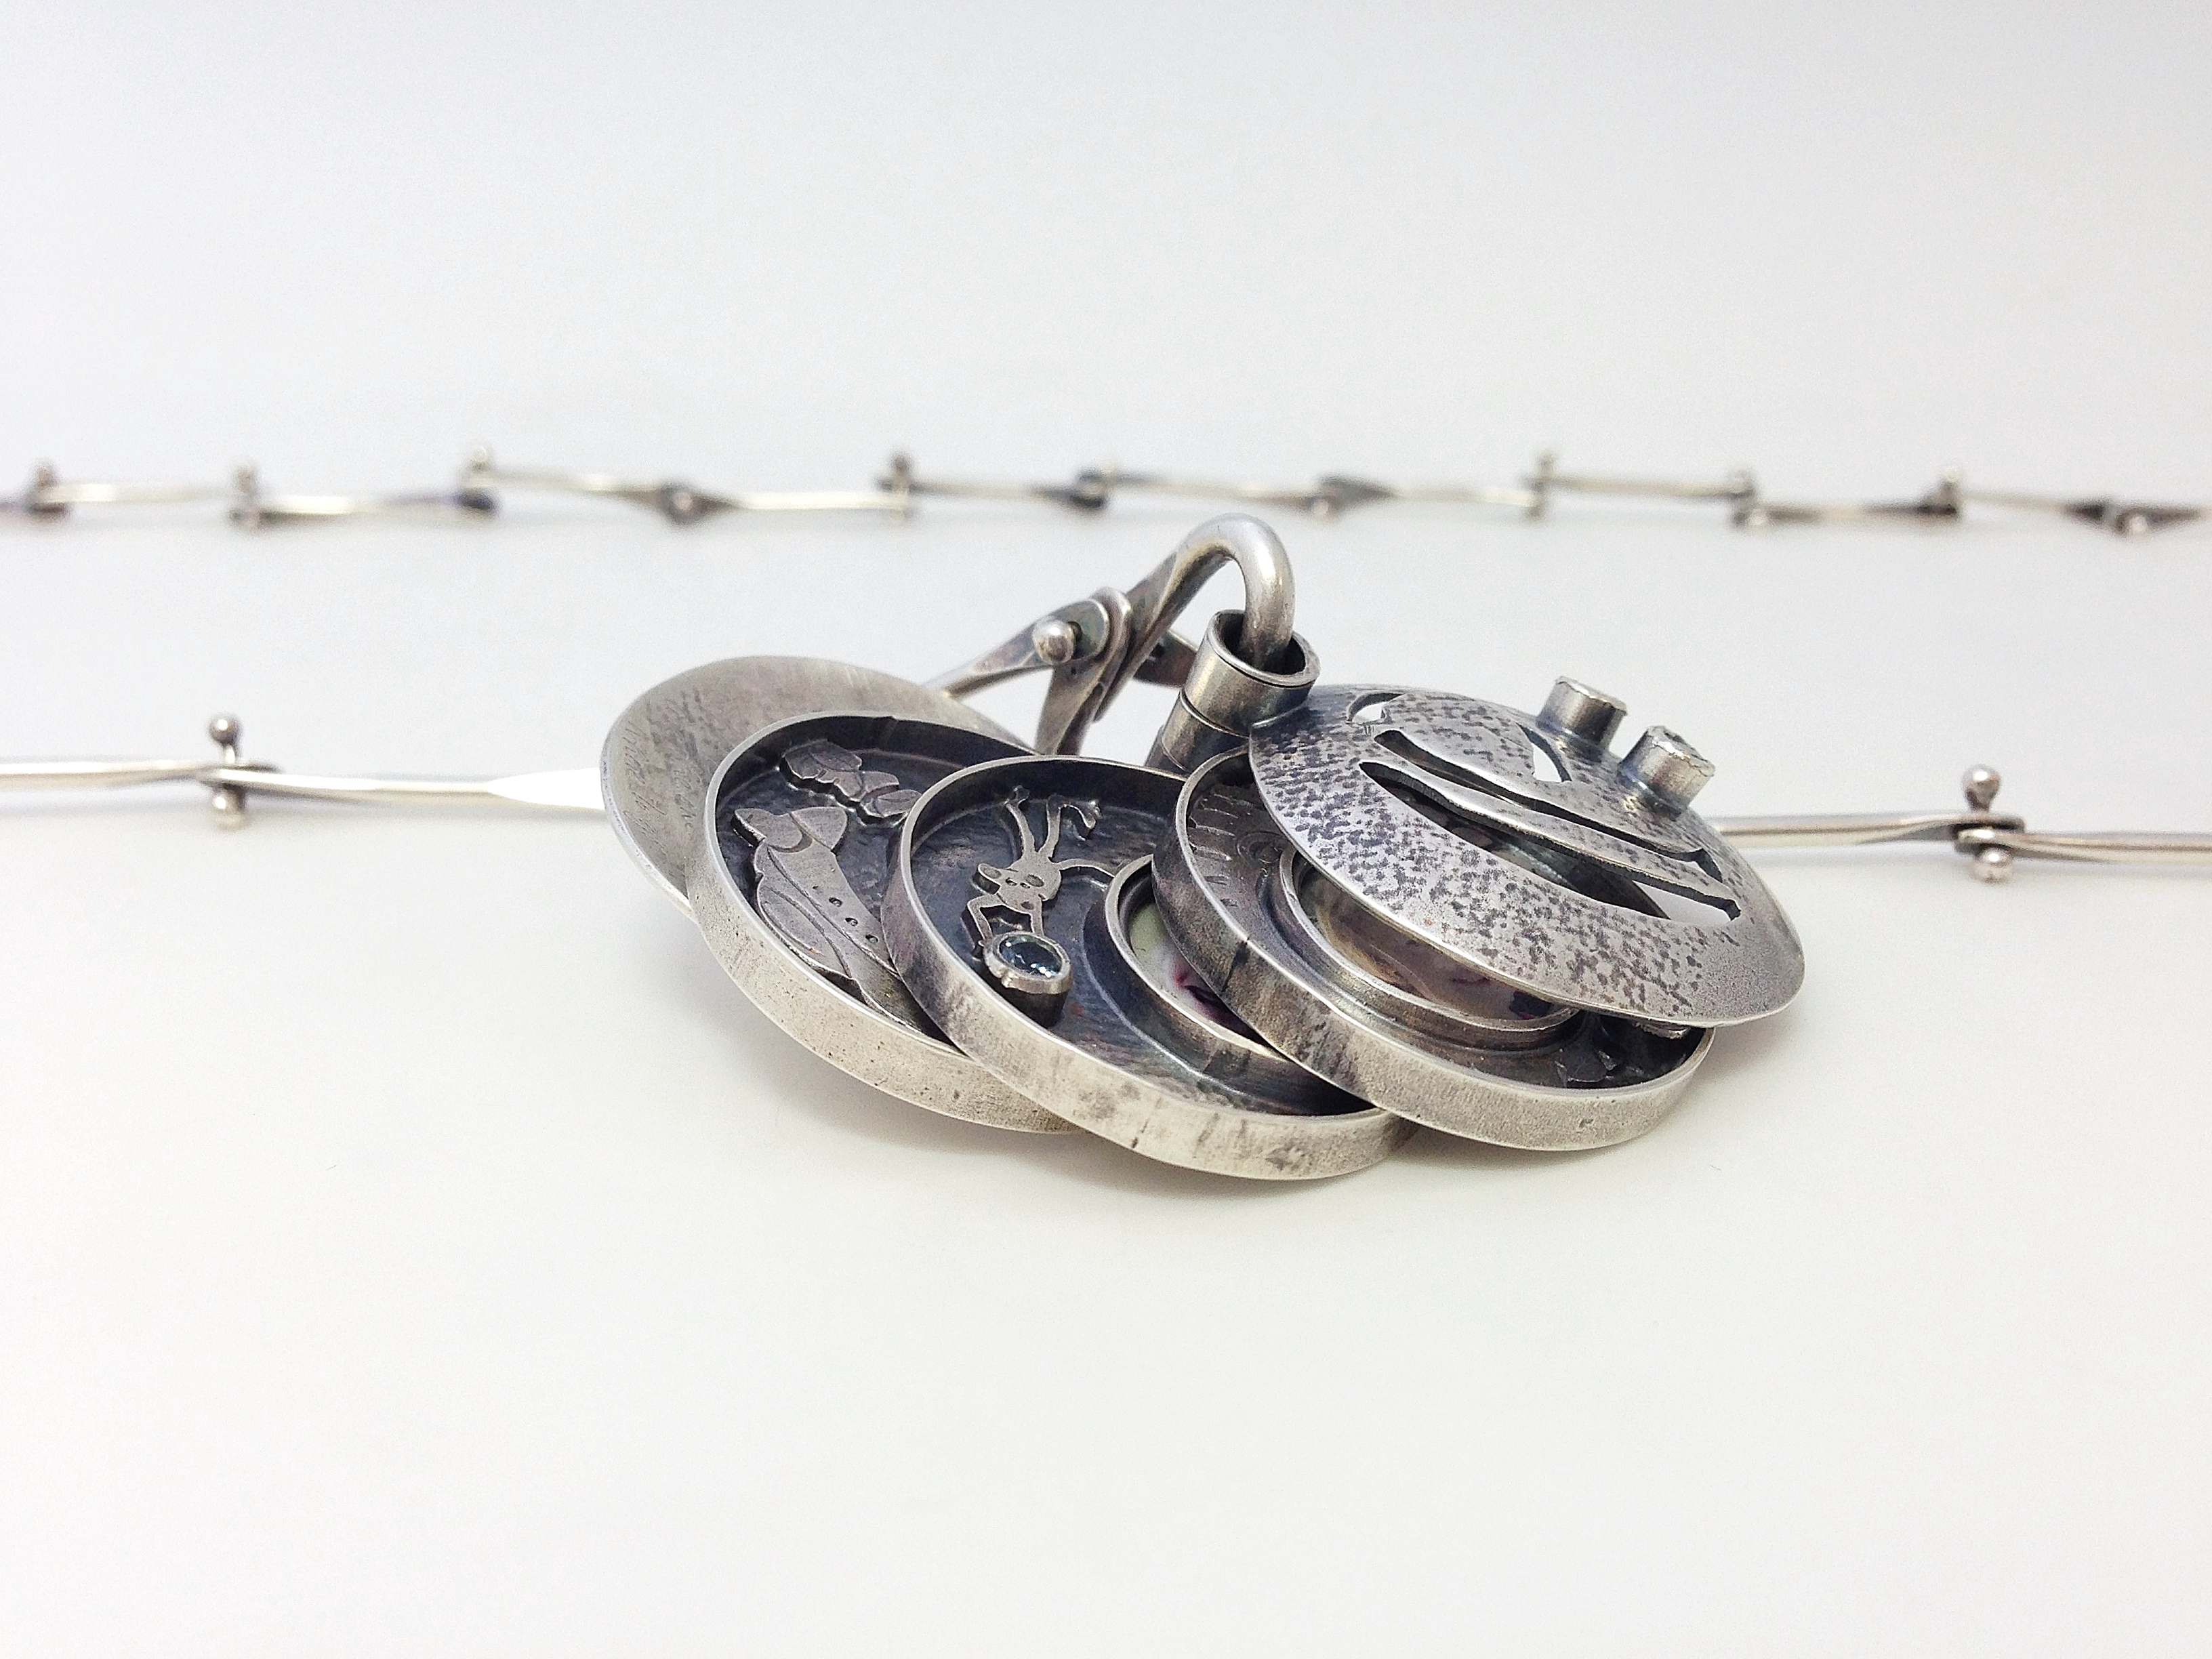
During our consultation time, my client – Brian – and I quickly decided many things. The locket would include sections for each of the three sons. They would function on a rotating basis – allowing each one to function independently via the hinge/bail, instead of working through a hinge-based hierarchy. The motif for each son was determined by the theme of each nursery, and Brian would provide me images of each child, including the ultrasound for the yet-to-be-born third son, Maxwell.
 So, a lion’s mane for Levi.
A monkey for Everett.
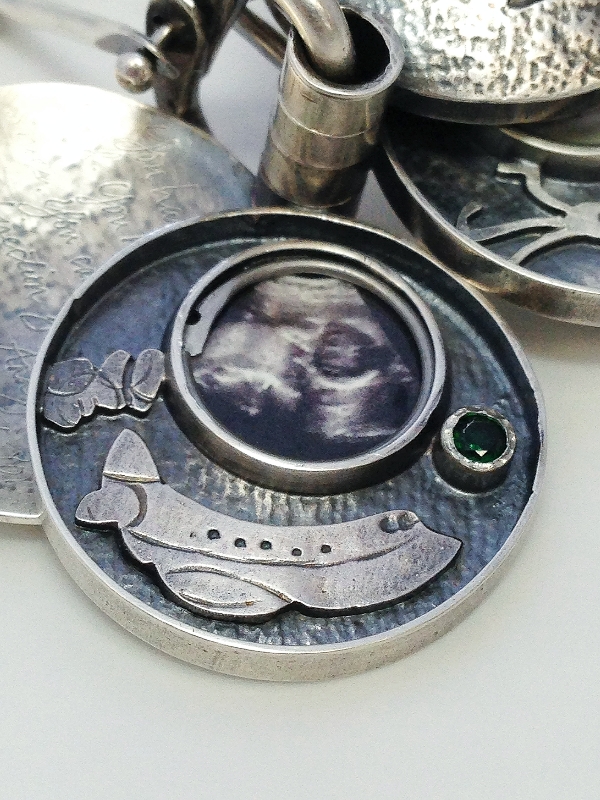 And an airplane for Maxwell.
This is the plan.
Benchwork began. Things came together well in the studio, and the piece was absolutely a pleasure for me to make.
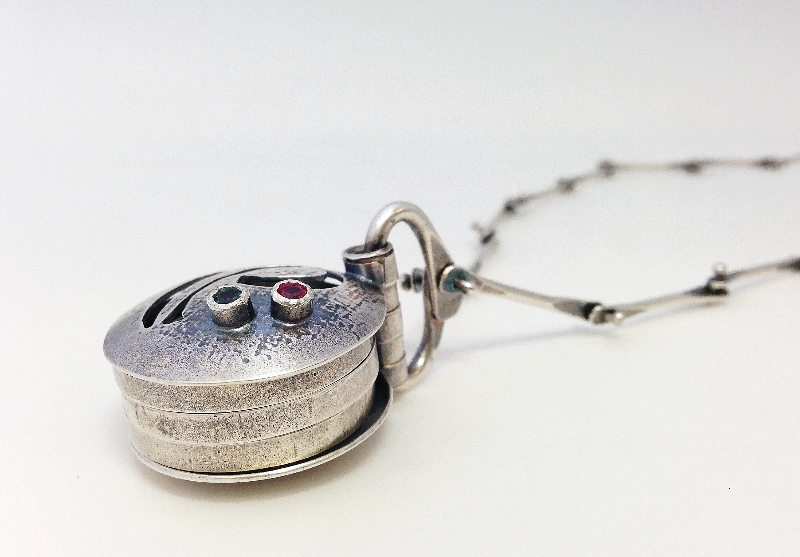
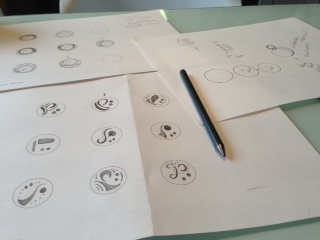 Brian and I continued to make design decisions via emailed sketches and conversations. I designed a handful of stylized “P” piercings from which my client chose for the main front panel of the locket. I did the same for the interior panels, and I sketched the mechanics for my own benefit in order to preempt certain problems before moving to three dimensions of technical fabrication
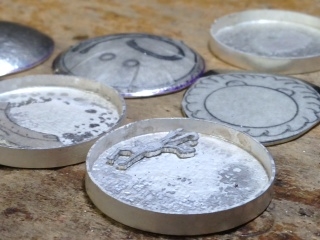 I prefer to use textured metal for the “backgrounds” in a piece like this. I really enjoy the the richness and depth of the patina on a texture like this. I have also calculated the height of each side wall (see above) and soldered the vertical wall to the circular back plate. Here we see the motif elements just having been cut out, or about to be sawed as in the case of the lion above.
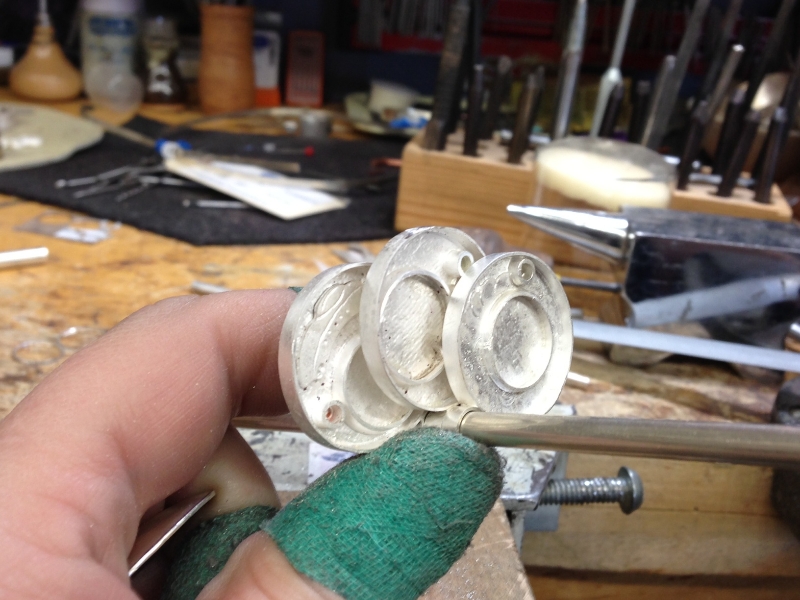
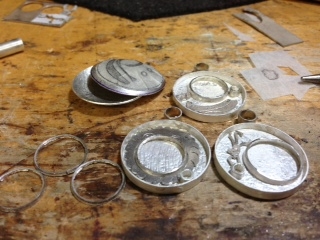 At this stage, the three center panels are ready for soldering. The lion’s mane, the monkey, and the airplane (with cloud) have all been cut out. A section of tubing has been sliced for each birthstone setting. and the bezel that will later hold the images of each son have been soldered, cut and tapered.
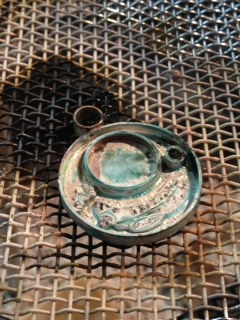
 After completing the soldering for the three interior panels, I was anxious to check the functionality of the three hinge knuckles. The good news is that they work!
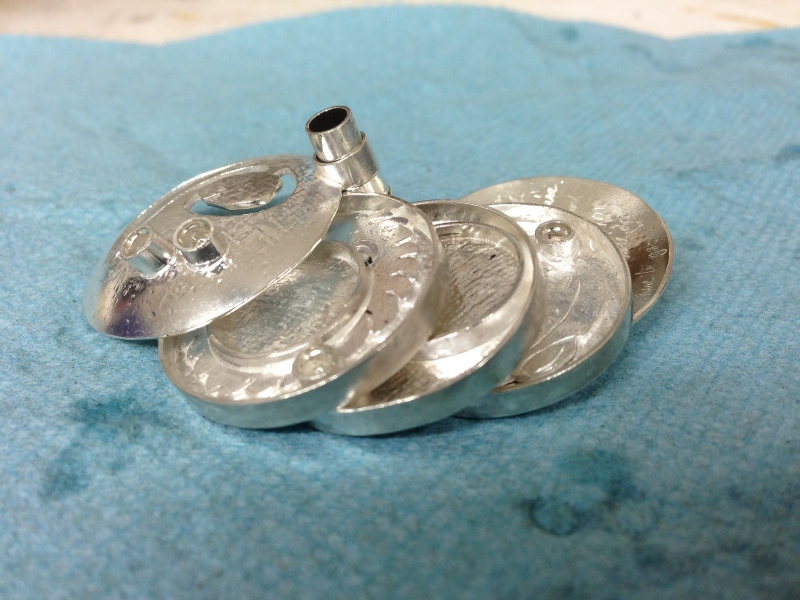 In fact, they all work!
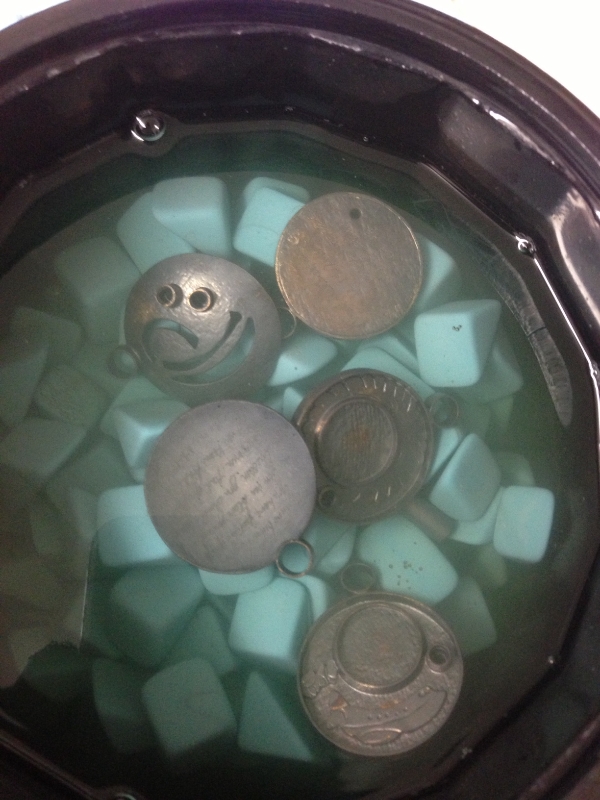 After completing the five panels and all their various elements, I applied the first level of patina, and tumbled the elements in ceramic media. While they were tumbling, I made the chain. Then it was time to assemble everything (unfortunately this part of the process was not photographed), and then I applied a final patina to the entire piece.
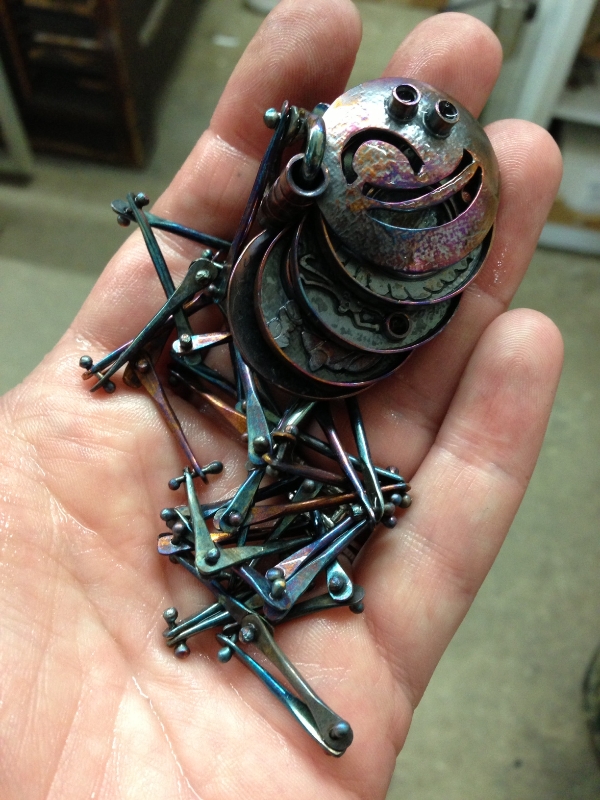 After the final patina, the entire piece goes back into the tumbler for another spell.
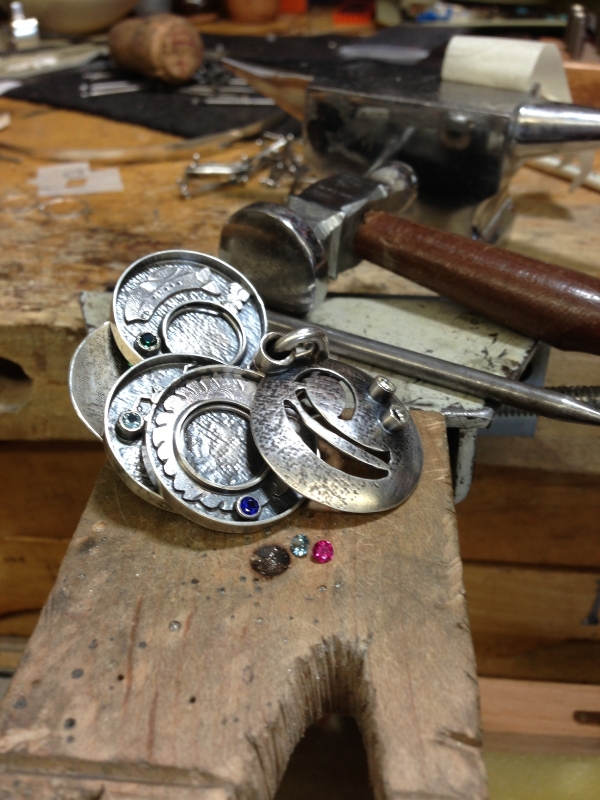 Fabrication complete. Patina applied. Tumbling complete.
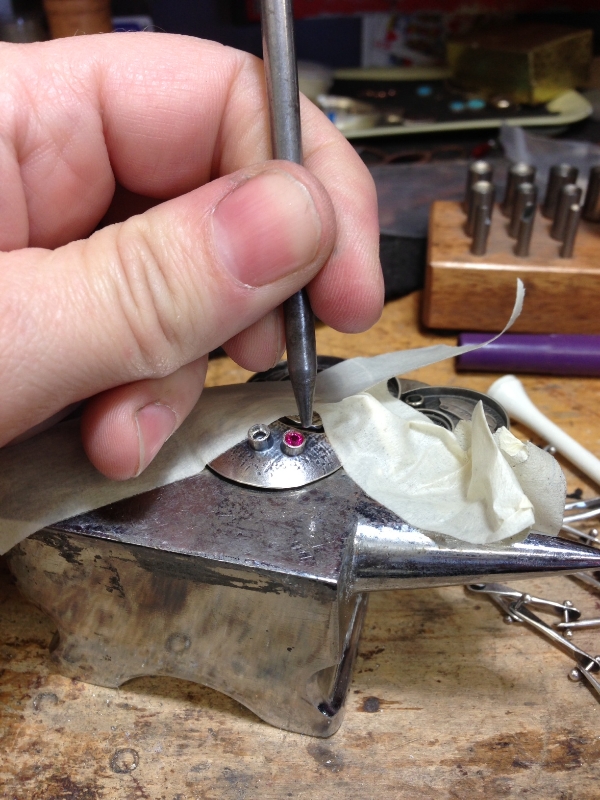 Now it’s time for the last steps: stone setting and image installation.
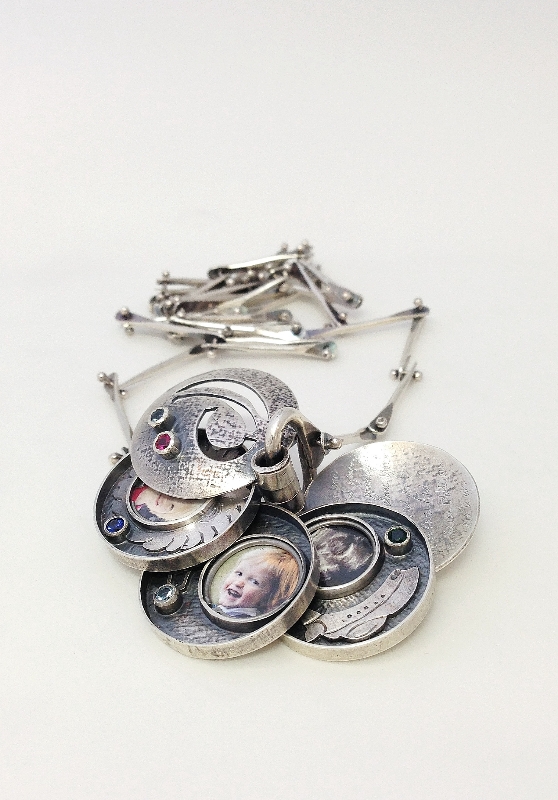
Working with Ginger couldn’t have been more timely. She pulled through in a huge way!Let’s go back a few months… My wife, Amber, had shown me a picture of a locket Ginger had made, and I was instantly impressed with the craftsmanship of it. I took note and stored the picture away to look at it again later.Then suddenly it was less than 2 weeks before two major events – our 7-year anniversary and the birth of our third son. I’m a typical male and waited till the last moment. I called Ginger up and left a voicemail late the night before. She emailed me and setup a phone call for the next day.We talked for more than 30 minutes, and the creativity flowed! I was wanting a piece for each of the special days: First a ring, which came out perfectly to who we are as a couple. And second was the locket, which was highly customized to our three boys.As the ideas formed for each piece, I was thoroughly impressed with the detail to which they were presented. Most notably was her speed at which she was able to produce them and get them to me on time for these two big days.Ginger does highly remarkable work, and I would suggest a custom piece from her anytime.Thanks, Ginger, for such amazing pieces of artwork!Brian Parana – Akron, Ohio
Donna Pernell
Posted at 15:12h, 06 SeptemberI loved that story and all the photos showing various steps in the process. Looking forward to future editions! –Love, Donna P.
PS: I was reading from E.T.’s copy. Please add my email to your list of recipients.
My Remarkable Clients - anything is everything | Ginger Meek Allen | MetalsmithGinger Meek Allen | Metalsmith
Posted at 23:35h, 25 March[…] he found something different, something thoughtful, and something “remarkable.” (Here is the story of that locket and his words about our […]
A Locket Addition for a Princess - Ginger Meek Allen | Metalsmith & Custom Studio Jeweler
Posted at 23:41h, 15 September[…] A couple of years ago I made a multi-panel locket for a special family as they welcomed their third son. (Read about that here.) […]